Just as a sturdy foundation is vital for constructing a towering skyscraper, selecting the right medium for seed starting in hydroponics sets the stage for robust plant growth.
Rockwool is a popular choice among hydroponic enthusiasts for its remarkable water retention and aeration properties.
Preparing rockwool for your seeds isn’t just about soaking it in water; it’s an art that balances moisture, pH levels, and nutrient delivery to provide an ideal environment for seed germination.
Discover the nuances of using rockwool, from the initial preparation to the thrilling moment when the first sprouts emerge.
Understanding Rockwool Benefits
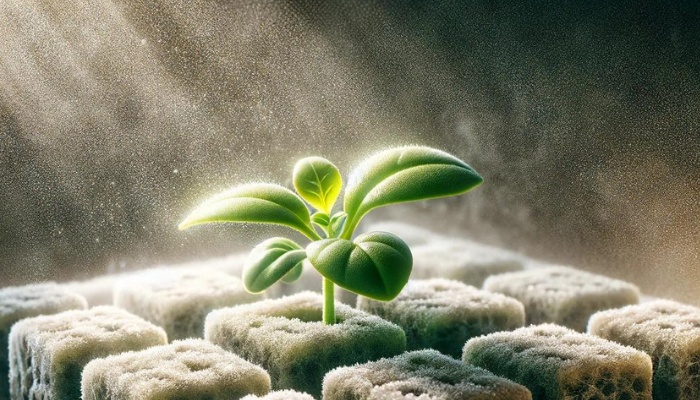
For seed starting, rockwool offers significant advantages, including its excellent moisture retention and aeration properties, which are critical for optimal seed germination.
Derived from basalt rock and chalk, this fibrous material is spun into a fine, wool-like texture, providing an ideal environment for seedling development.
Its structure allows for the perfect balance of water and oxygen, critical components in the early stages of plant growth.
However, it’s important to consider the environmental impact of using rockwool cubes in hydroponics.
While it boasts exceptional qualities for seed starting, its production process is energy-intensive, contributing to its ecological footprint.
Additionally, rockwool is non-biodegradable, posing disposal challenges. Responsible management and recycling efforts can mitigate some of these impacts.
Adopting rockwool in your hydroponic system means balancing its horticultural benefits with its environmental implications. This includes exploring recycling options and efficient use strategies to minimize waste.
By doing so, you can harness rockwool’s advantages for seed starting while addressing its ecological considerations.
Preparing Rockwool for Seeds
Preparation involves a few key steps to ensure the rockwool is ready for your seeds.
- Adjust the pH: Rockwool naturally has a higher pH, which isn’t ideal for most plants. You’ll need to soak it in a pH-adjusted solution. Aim for a pH of 5.5 to 6.5, which is suitable for most seeds. Use a pH meter to check the water’s pH level after adding a pH-down solution.
- Soak the Rockwool: Submerge the rockwool cubes in the pH-adjusted water for at least an hour. This ensures they’re fully saturated, providing an optimal environment for seed germination.
- Drain Excess Water: After soaking, allow the rockwool to drain. This step prevents waterlogging, which could harm your seeds by depriving them of necessary oxygen.
Planting Seeds in Rockwool
After preparing your rockwool cubes by adjusting their pH and ensuring they’re thoroughly soaked and drained, it’s time to plant your seeds with precision and care.
Begin by conducting a final pH test to confirm the cubes are within the optimal range for your chosen plants. This step is crucial as incorrect pH levels can hinder seed germination and early root development.
Once you’ve addressed any pH adjustments, use a sterile tool to make a small indentation in the top center of each cube. This is where you’ll carefully place your seed.
While some gardeners opt for a single seed per cube to avoid the need for thinning later, others may plant two or three and select the strongest seedling to continue growing.
Cover the seed lightly with a bit of rockwool, ensuring it’s not too deep to prevent issues with germination. The depth should ideally match the seed’s size; a general rule is to plant the seed at a depth twice its diameter.
Managing Water and Nutrients
Once your seeds are securely planted in the rockwool cubes, manage water and nutrient levels carefully to ensure optimal growth conditions.
The balance between hydration and feeding is pivotal for seedling development, and getting it right involves understanding the specific needs of your plants and the properties of rockwool as a medium. Here’s how you can maintain this balance:
- Pre-soak With pH-Adjusted Water: Before introducing seeds, soak your rockwool in water with a pH of 5.5 to 6.5. This range is ideal for most crops and helps in preventing nutrient lockout, ensuring your seedlings can absorb all the nutrients they need.
- Establish a Watering Schedule: Overwatering can lead to oxygen deprivation and disease. Aim for moist, not soggy, by watering little and often. This prevents root rot and supports healthy growth.
- Introduce Nutrients Gradually: Start with a quarter-strength nutrient solution after the first true leaves appear. Gradually increase to half-strength as your plants grow. This controlled approach avoids nutrient burn and promotes steady growth.
- Monitor for pH Fluctuations: Regularly check the pH of your nutrient solution, and adjust as needed. pH plays a crucial role in nutrient availability and disease prevention, making it essential for thriving seedlings.
Monitoring Seedling Growth
To ensure your seedlings thrive in their rockwool cubes, it’s vital to monitor their growth meticulously, focusing on root development, leaf formation, and signs of stress or disease.
Observing the roots emerging from the rockwool indicates a healthy start, but it’s also essential to watch for leaf color and structure as indicators of overall plant health.
Lighting conditions play an important role in seedling development. Your plants need the right spectrum and intensity of light to photosynthesize efficiently.
Too little light leads to leggy, weak plants, but too much can cause scorching.
Aim for a balanced light schedule, adjusting the distance between the light source and the seedlings as they grow. This ensures they receive optimal light without damage.
Temperature control is equally important. Seedlings require a consistent, warm environment to flourish. Fluctuations in temperature can stress your plants, leading to slow growth or disease susceptibility.
Maintain a steady temperature suited to your specific plant species, using heating mats if necessary during cooler periods.
Monitoring these factors, along with regular checks for pests and diseases, ensures that your rockwool seedlings develop into strong, healthy plants ready for transplanting or further growth in your hydroponic system.