With square foot gardening, every inch of space counts. When growing garlic in the confined charm of a square foot garden, the rewards are measured in cloves.
Get ready to spice up your gardening game and savor the joy of growing your own garlic, all within the confines of your neatly arranged squares. Let’s cultivate some culinary magic!
Planning and Preparation
Before launching into the garlic square foot gardening process, you should meticulously plan and prepare your garden space, ensuring optimal conditions for growth.
Soil selection and garden location are foundational steps that can’t be overlooked. You’ll want to opt for a well-draining soil mix, rich in organic matter, to foster robust garlic growth.
A pH level between 6.0 and 7.0 is ideal, so consider testing your soil beforehand and amending it with organic compost to adjust the pH and enhance nutrient content.
Your garden’s location plays a pivotal role in garlic’s success. Choose a spot that receives at least six hours of direct sunlight daily because garlic thrives in full sun, which bolsters its growth and disease resistance.
Additionally, ensure your selected area offers good air circulation to prevent moisture buildup, which can lead to fungal diseases.
Planting Your Garlic
With your garden meticulously planned and soil optimally prepared, it’s time to begin the planting process, starting with selecting the right garlic cloves for your square foot garden.
Choosing the appropriate garlic varieties is vital for success. Whether you’re leaning toward softneck garlic for its storage longevity or hardneck garlic for its robust flavors, ensuring the chosen variety suits your climate is key.
Soil pH plays a pivotal role in the cultivation of garlic. Aim for a pH between 6.0 and 7.5 for optimal growth. This range encourages nutrient uptake, fostering healthy, vigorous plants. Here’s a quick guide:
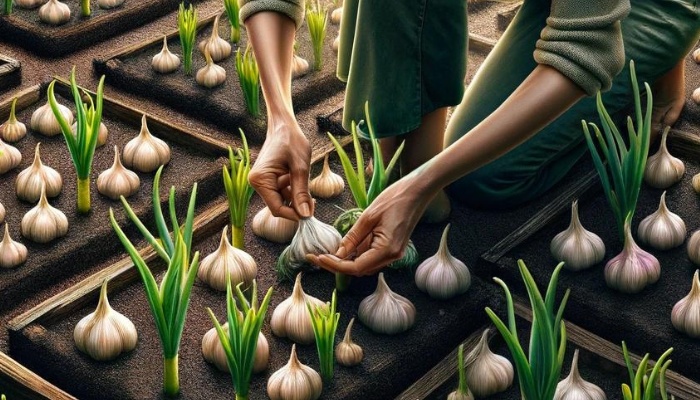
- Select Healthy Cloves: Only plant the largest cloves; their size directly influences the bulb size.
- Proper Spacing: Plant cloves 4 inches apart in all directions, ensuring ample room for growth.
- Correct Depth: Plant cloves 2 inches deep with the pointed end facing upwards to encourage straight growth.
- Mind the Soil pH: Test and adjust your garden’s soil pH, aiming for that sweet spot that garlic loves.
Care and Maintenance
After planting your garlic cloves according to the guidelines provided, you must focus on their care and maintenance to ensure a healthy, bountiful harvest.
Establishing a consistent watering schedule is essential. Garlic requires evenly moist soil; however, overwatering can lead to root rot.
Aim for about an inch of water per week, adjusting based on rainfall and soil type. Utilize a mulch layer to help retain soil moisture and regulate temperature, reducing the need for frequent watering.
Soil amendments play a vital role in garlic growth. Before planting, incorporating well-composted organic matter improves soil structure and fertility.
As garlic is a heavy feeder, consider a side dressing of a balanced, slow-release organic fertilizer in the early spring to support vigorous growth. Monitor soil pH levels, aiming for a range between 6.0 and 7.0, to optimize nutrient uptake.
Regularly inspect your garlic plants, removing any weeds that compete for nutrients and water. However, be gentle to avoid disturbing the garlic roots.
By adhering to these care and maintenance practices, you’re setting the stage for robust garlic plants that will yield an impressive harvest.
Managing Pests and Diseases
How do you effectively manage pests and diseases that threaten your garlic plants, ensuring a healthy and productive garden? The key lies in adopting a proactive approach.
Select varieties with inherent disease resistance, and use natural repellents. Here’s how:
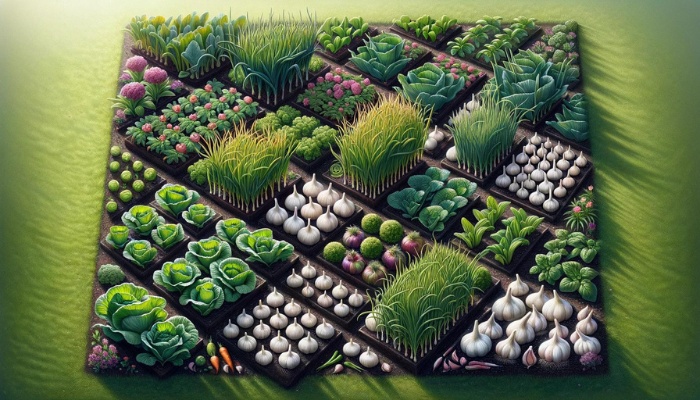
- Implement Companion Planting: Cultivate garlic alongside plants that naturally repel pests. Marigolds, for instance, deter aphids and nematodes with their potent scent, creating a protective barrier around your garlic.
- Choose Disease-Resistant Varieties: Invest in garlic strains known for their robust disease resistance. This genetic advantage minimizes the likelihood of fungal infections like white rot, ensuring a thriving crop.
- Apply Natural Repellents: Neem oil and diatomaceous earth are your allies against pests. These natural substances deter invaders without harming your plants or the environment. Regular application forms a defensive shield, safeguarding your garlic from common pests.
- Monitor and Act Promptly: Regularly inspect your garlic plants for signs of distress. Early detection of pests or diseases is imperative. Remove affected plants to prevent spread, and apply natural treatments as needed to maintain a healthy garden ecosystem.
Harvesting and Storage
You’ll know it’s time to harvest when most of the leaves have turned brown. Carefully lift the bulbs with a spade, avoiding any damage that could affect storage life.
Once harvested, the importance of curing methods can’t be overstated for flavor preservation.
Spread your garlic in a single layer in a dry, well-ventilated area out of direct sunlight for about two weeks. This process allows the outer layers to harden, protecting the inner cloves and enhancing flavor.
Store the cured bulbs in a cool, dry place with good air circulation. Mesh bags or braided ropes are ideal for hanging garlic, ensuring they’re not packed too tightly to prevent moisture accumulation, which could lead to rot.